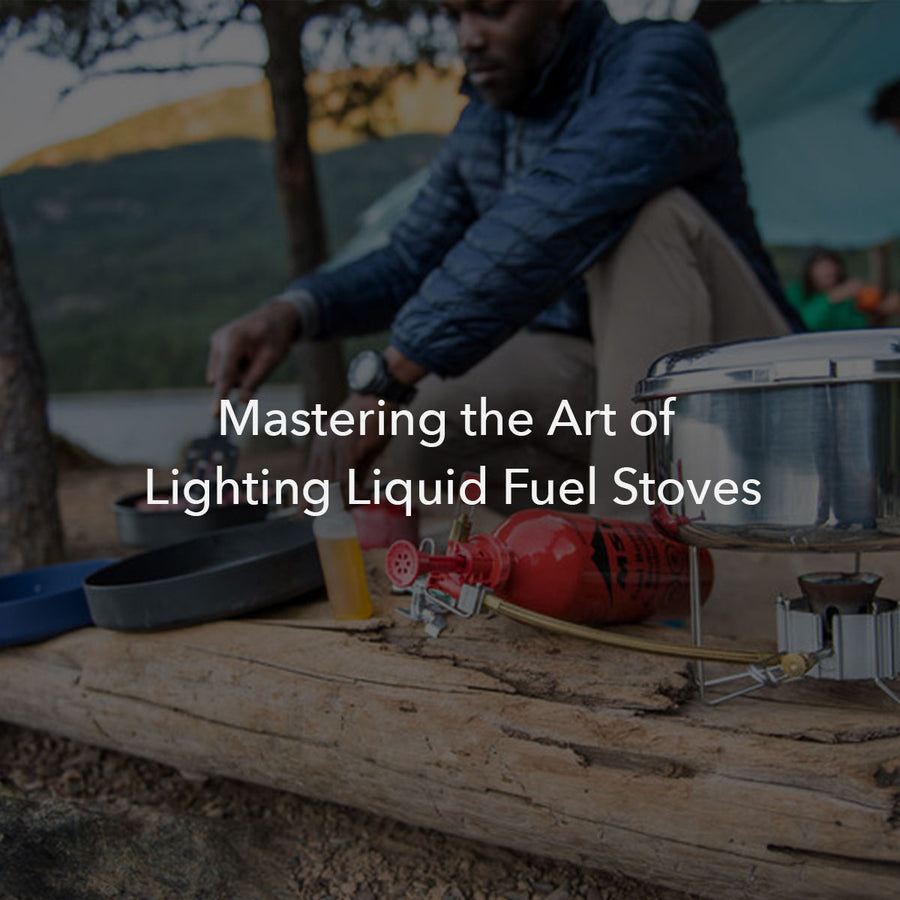
Mastering the Art of Lighting an MSR Liquid Fuel Stove

When it comes to outdoor cooking and backpacking adventures, having a reliable stove is crucial. The MSR liquid fuel stove has long been a favourite among outdoor enthusiasts due to its efficiency and versatility. In this blog post, we'll guide you through lighting an MSR liquid fuel stove, ensuring a safe and successful cooking experience in the great outdoors.
1. Gather the Necessary Supplies:
Before you begin, ensure you have all the essential supplies. Here's a list of items you'll need to light your MSR liquid fuel stove:
- MSR liquid fuel stove
- MSR liquid fuel (white gas or similar)
- Matches or a lighter
- Windscreen (optional but recommended)
- Cooking pot or pan
- Cooking utensils
2. Choose A Safe Location:
Selecting an appropriate location to set up your stove is vital for safety. Look for a flat and stable surface away from flammable materials like dry grass or leaves. Avoid areas with strong winds that can disrupt the flame and make ignition difficult.
3. Assemble The Stove
Start by assembling your MSR liquid fuel stove according to the manufacturer's instructions. Ensure that all the parts are securely connected, and double-check that the fuel lines are free of kinks or blockages.
4. Check For Leaks
Before fuelling your stove, it's essential to check for any leaks. Apply a small amount of pressure to the fuel bottle, and look for any signs of fuel seeping out. If you detect a leak, do not proceed with lighting the stove. Instead, address the issue or consult the manufacturer's guidelines for troubleshooting.
5. Fuelling The Stove
With the stove assembled and leak-free, it's time to add fuel. Open the fuel bottle's cap, and carefully pour the liquid fuel into the fuel canister of the stove. Avoid overfilling, as it can lead to dangerous flare-ups. Securely close the fuel bottle, ensuring it is tightly sealed to prevent leakage.
6. Priming The Stove
To ensure reliable ignition, MSR liquid fuel stoves typically require priming. Priming involves preheating the stove to generate sufficient vapour for combustion. Follow these steps for priming:
- Open the stove's control valve slightly, allowing a small amount of fuel to flow.
- Use a match or a lighter to ignite the fuel. You should see a small flame.
- Allow the flame to burn for approximately 30 seconds to preheat the stove.
7. Igniting The Stove
After priming, it's time to light the stove. Follow these steps:
- With the control valve open, bring the match or lighter close to the burner assembly.
- The fuel vapour should ignite with a small "whoosh" sound.
- If the flame does not ignite, close the control valve and repeat the priming process.
8. Adjust The Flame
Once your MSR liquid fuel stove is lit, you can adjust the flame intensity to your desired cooking temperature. Use the control valve to increase or decrease the flow of fuel, thus controlling the flame size. Keep in mind that a well-adjusted flame is steady and blue, indicating efficient combustion.
9. Cooking And Safety Tips
- Place a windscreen around the stove to protect the flame from wind gusts and improve fuel efficiency.
- Never leave your stove unattended while it's lit.
- Use long cooking utensils to prevent burns and ensure safe handling of pots and pans.
- Keep flammable materials away from the stove and its surroundings.
- Allow the stove and fuel bottle to cool completely before packing them away.
In conclusion, lighting an MSR liquid fuel stove is a fundamental skill for outdoor enthusiasts and backpackers. By following the steps outlined in this blog post, you can confidently light your MSR stove, ensuring a safe and enjoyable cooking experience during your adventures. Remember, always prioritize safety, follow manufacturer instructions, and exercise caution when handling flammable materials. Happy cooking!